Currently, as the corona crisis is causing heavy lockdowns, people have to keep a social distance. This made it difficult to celebrate special events, so as a challenge I decided to try to make a contactless delivery robot. The final design was used to deliver cupcakes to my friends!

I made the robot itself from scratch with parts I had left over from when I participated in the INDI Robot Games in 2019. Back then I bought a lot of components to try how suitable they would be for a fighting robot. This helped me with both spare parts, as well as knowledge on how to put these components together. The parts I used are listed at the bottom of this article.
What really helped me was the 3D printer I bought: this allowed me to quickly iterate designs and learn from mistakes. I designed the chassis myself in the design program Fusion 360. I started by creating a base with a place for two motors, electronic speed controls (ESCs) for these motors, a receiver, and a battery. After a few iterations I had something which could drive around, but could not carry a payload yet. I then designed a magnetic top that can be clicked on purpose made for four cupcakes. All design files can be downloaded here from Thingiverse.
The main challenge I had so far with robots is finding a good and reliable way to mount wheels to motors. This is really where the 3D printer helped a lot: it allowed me to test many hypotheses fast. In the end I designed a pretty good mount that fits the motor shaft perfectly, fits the wheel perfectly, and can be attached using a screw. There is an insert you have to get into a hole by heating it up with a soldering iron. This takes some practice, but leads to a great fit!
Here are some videos of the robot in action:
In case you are wondering about the cakes on the robot: those are cupcakes made according to a recipe from cupcake Jemma. She has a great video about what can go wrong with your cupcakes and how to make them perfect. We also used her recipe for buttercream icing.
Parts you need to make it yourself
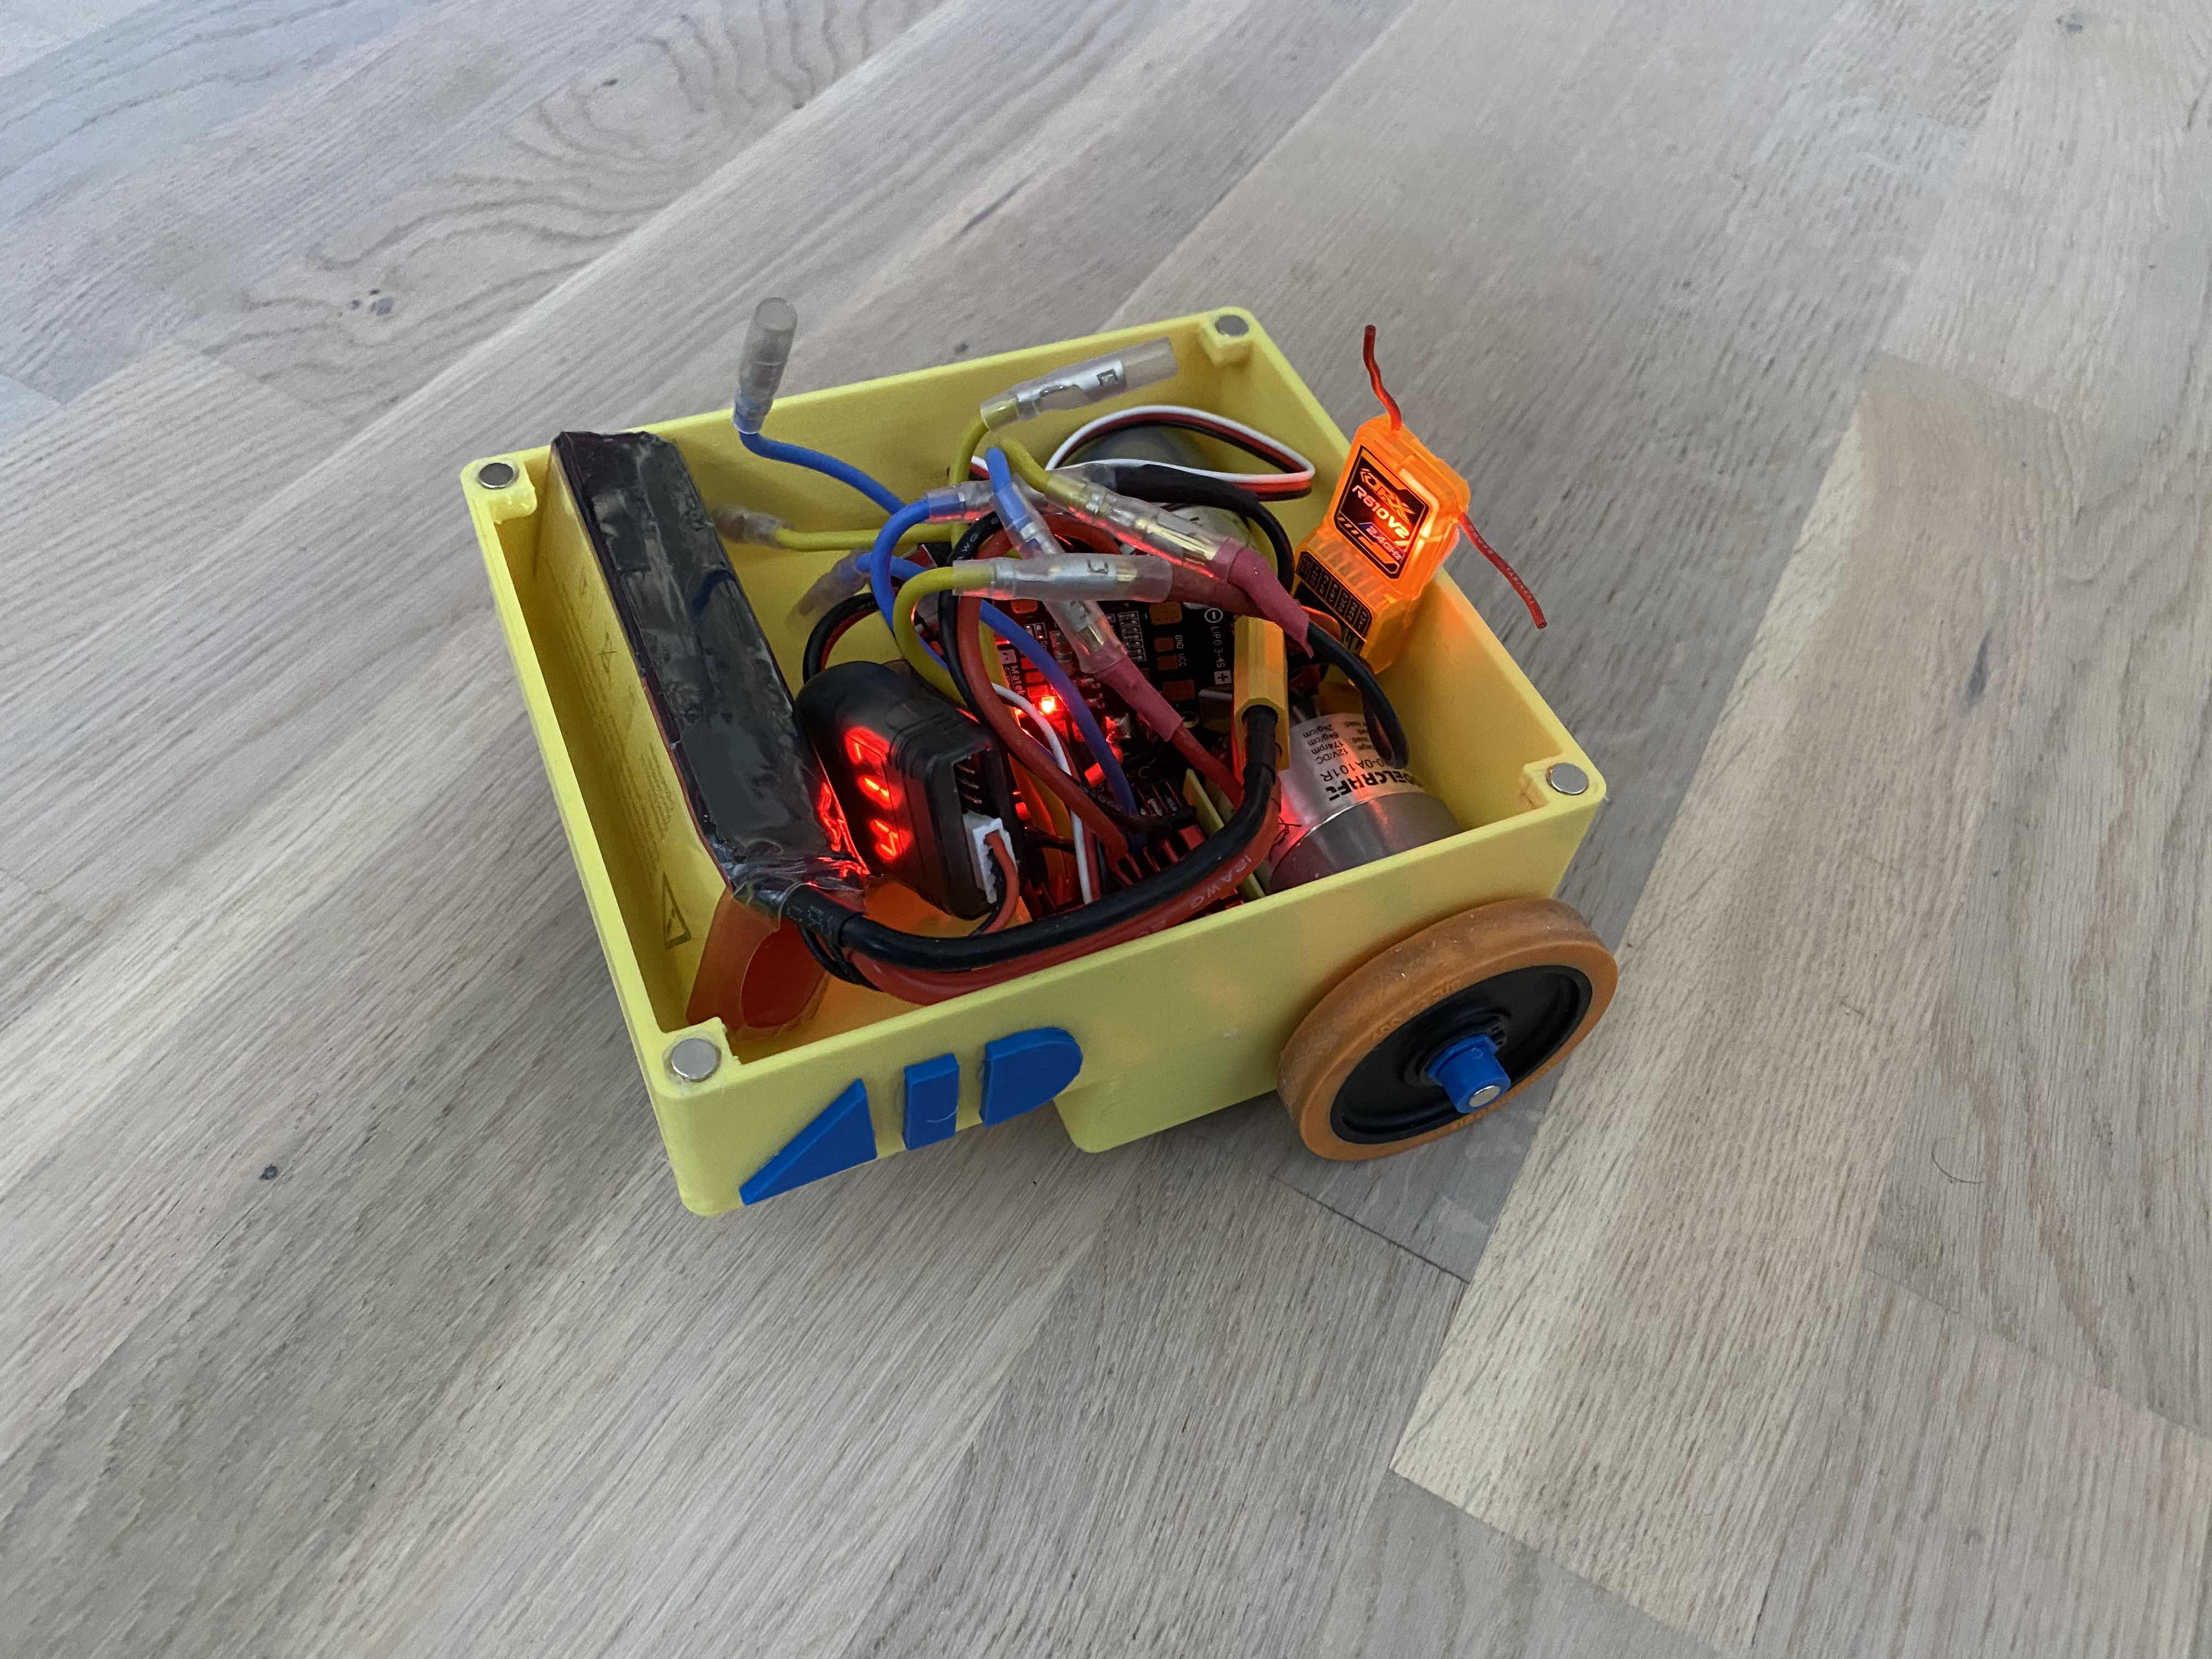
The main parts I used were as follows:
- 1x orangeRX receiver to receive commands and give them to the ESCs.
- 2x Modelcraft brushed motors. You can change the gear ratio if you want a faster or stronger robot.
- 2x ESCS which could power two motors.
- 2x Banebots wheels.
- You also need a transmitter to get your commands at the robot, I used a Turnigy 9XR pro.